
Soulrift How to Beat Nebula
Cosmos ruler, space-themed kit, and the entity that absorbed her — the end of the published roster.
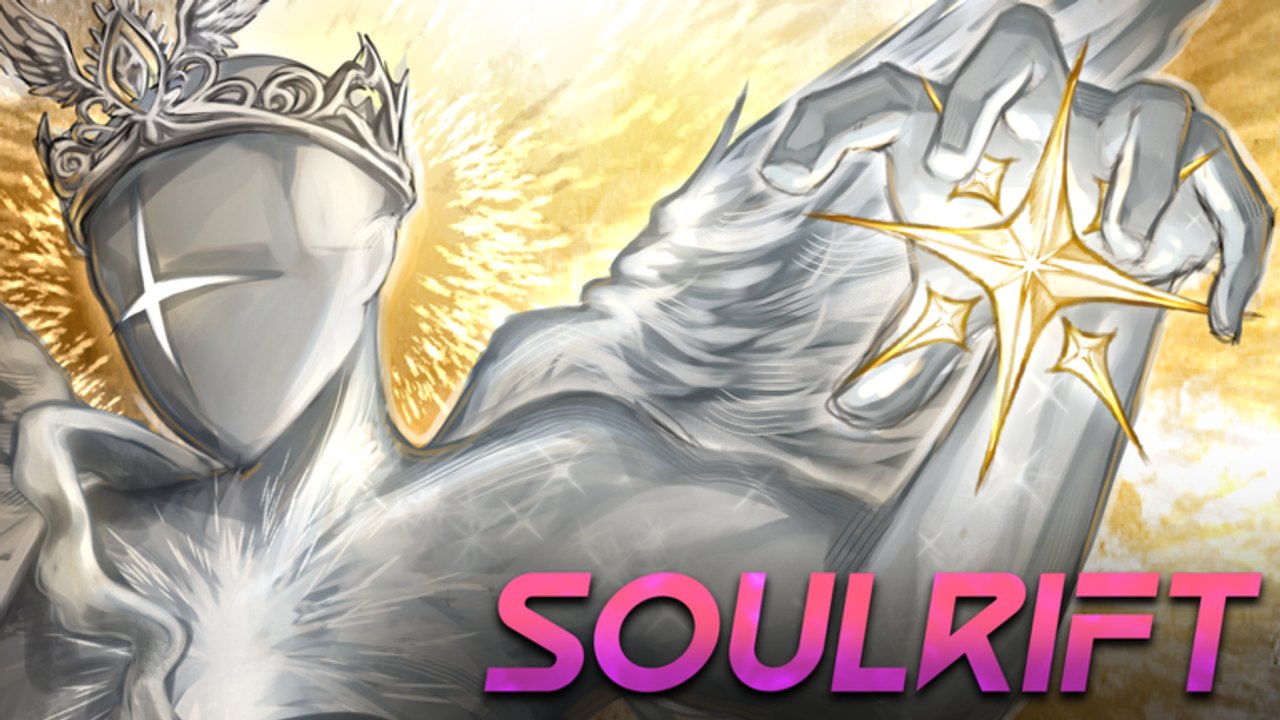
Nebula is the ninth Soulrift named boss and the higher-level entry in the published roster. Her lore is cosmic: born from the collision of two shooting stars, she became known as a ruler of the cosmos who bent planets and moons to her will, eventually came into conflict with Earth, and was absorbed by a much greater system at the height of her reign. She is part of the cosmos pair with Seraphim. Drop: Centerpiece (+4% damage, damage reduction, attack speed, and crit), Spacetime (teleport up to 200 studs, 15s CD), and Supernova (explode on death / Last Stand for 300 damage), each at Easy 20% / Hard 40%. This page is the dedicated fight. Hub: named bosses. Lore: Lore.
In normal mode Nebula has 5000 HP. She appears as a female figure wearing clothes. The fight opens with a star twinkling in the arena, followed by a beam shooting down — that is your first telegraph.
Phase one — Entry (100%–80% HP)
The fight begins with a star twinkling, then a beam shoots down and Nebula materializes. The following attacks are used in rotation:
| Attack | Damage | Type | How it works |
|---|---|---|---|
| Dash Attack | 30 | Single-target | Nebula dashes and sends a projectile. Multiple lines appear simultaneously — they do not hit until a moment after the initial projectile. No difference between Easy and Hard mode. |
| Beam of Doom and Despair | 30 | Single-target + AoE | Nebula lifts into the air, charging for roughly 1.4 seconds, then fires a beam plus an AoE attack around her. In phase 2 she fires the beam twice; in phase 3 she fires it three times. Can retarget mid-attack in multiplayer. In Hard mode, orbs appear after the beam following the Ardale pattern. |
| Discharge | 30 per ball | Single-target | Nebula releases energy balls — watch for the spread pattern. |
| Follower Orbs | 30 per orb | Single-target | Tracking orbs that pursue the player — keep moving. |
| Orb Spam | 30 per ball | Single-target | Rapid succession of balls; probably the hardest to dodge. |
Phase two — Escalation (80%–50% HP)
The Beam of Doom and Despair fires twice in sequence. Dash Attack variants gain additional line patterns. Discharge and Follower Orbs increase in frequency. The orb patterns become more dense — the safe windows between attacks shrink noticeably.
The phase 2 transition is marked by the music changing and Nebula’s attacks intensifying. This is where most groups start to struggle if they have not been managing their positioning.
Phase three — Overdrive (below 50% HP)
The Beam of Doom and Despair fires three times in sequence. Orb Spam intensifies. The Follower Orbs gain more aggressive tracking. This is the true test of the fight — consistent Dash timing and not committing to M1 during beam charges.
Special Last Stand interaction
Nebula has a confirmed Special Last Stand interaction with Lumina. When Lumina enters Last Stand while Nebula is at 25% HP or less, a unique cutscene triggers and A Stranger I Remain by Jamie Christopherson plays. This is the only confirmed character-boss Special Last Stand pairing for Nebula.
Music
- Phase 1: INT LR Merged Zamasu Intro OST from Dragon Ball Z Dokkan Battle
- Phase 2: Galactic Destruction by Heart Plus Up!
- Phase 3: Nuke Powder by MaelouX
Drops
| Accessory | Effect | Easy / Hard |
|---|---|---|
| Centerpiece | +4% damage, DR, attack speed, crit | 20% / 40% |
| Spacetime | Teleport up to 200 studs (15s CD) | 20% / 40% |
| Supernova | Explode on death / Last Stand, 300 damage | 20% / 40% |
Centerpiece is the “I do not want to think” late-game piece — a small boost to everything. Spacetime is utility teleport for repositioning. Supernova is a death explosion; only equip it if the lobby agreed to a 300-damage suicide plan.
Strategy summary
- Name the beam. The 1.4-second charge is your clock. When she lifts, get to a flank.
- Do not M1 through beam charges. One mistake on the beam can end a low-HP character.
- Orb Spam is the wipe cause. When you see the rapid balls, full survival mode — Dash, do not attack.
- Phase transitions are not breaks. The fight gets harder below 80% and again below 50%.
- Divine Crown from Seraphim helps Lumina manage cooldowns through the long phase-three rotation.
Scripts on scripts. When Update 1.6 Reunion adds content, this page updates. Confirm live data in Soulrift.
What Nebula teaches
- Patience. Lower drop rates (20% / 40%) mean more runs to complete the accessory set.
- Reading charge animations. The beam lift is the most punishing telegraph if ignored.
- The cosmos pair with Seraphim is narrative and mechanical — both fights share a thematic space, and Lumina’s Special Last Stand with Nebula confirms a lore connection that plays out in combat.
Frequently Asked Questions
Quick answers for Soulrift players.
What does Nebula drop?
Centerpiece (+4% to everything), Spacetime (teleport 200 studs), and Supernova (300 damage on death). All at Easy 20% / Hard 40%.
Is Nebula the hardest boss?
She is among the later bosses with lower drop rates. Phase 3 (below 50% HP) with triple beam is the true test.
What is the cosmos pair?
Nebula and Seraphim. They share a lore connection — both were eventually absorbed by the same greater entity.
Should I use Supernova?
Only if your lobby agreed to a death explosion plan. It is not a reliable strategy.
What are Nebula's phase transitions?
Phase 1 (100-80%): single beam. Phase 2 (80-50%): double beam. Phase 3 (below 50%): triple beam with intensified orb patterns.